
10 Photoshop editing skills every photographer should know | TechRadar
10 Photoshop editing skills every photographer should know
By James Abbott September 20, 2017
Get to grips with the best image-editing software available
Adobe Photoshop has long been the industry standard image-editing software for photographers. It’s a comprehensive and powerful program, and despite its reputation for being complicated it can actually be used with relative ease by photographers of all ability levels.
The possibilities it opens up are almost endless; from basic adjustments to high-end retouching to creating surreal composite images, Photoshop can do it all. So, whether you intend to make major adjustments to your shots or just minor tweaks, these 10 tips will help you do it faster and more effectively.
Read more: Adobe Premiere Clip
The best photo editor overall is: Adobe Photoshop
If you're serious about photo editing, or are thinking about turning your hobby into a job, you can't beat industry standard software Adobe Photoshop. It's certainly not free like the photo editors below, but it's surprisingly good value with an Adobe Creative Cloud subscription.
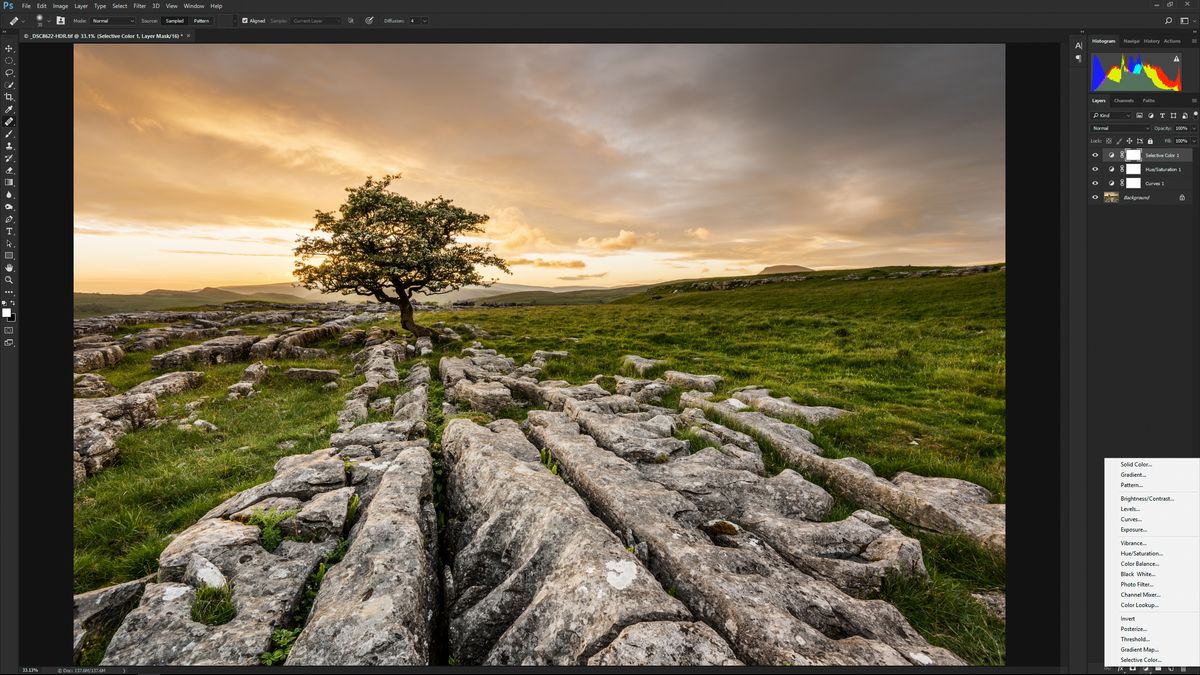
1. Using adjustment layers
Adjustment layers are the professional way to apply edits to your images. Adjustment layers sit above the Background layer (your original image), and allow you to make multiple adjustments without altering the original image or degrading its quality. Adjustment layers are accessed by clicking on the half-white, half-black circle icon at the foot of the Layers panel. If you want to save an image with adjustment layers intact you'll need to save it as a TIFF or PSD – a JPEG is a flattened and compressed file type that doesn’t support layers.
RECOMMENDED VIDEOS FOR YOU...
Please close pop-out player to resume playback.
video playing
Galaxy S21 | Everything you need to know
26/01/21
Galaxy S21 Ultra | Everything you need to...
26/01/21
IPhone 12 Pro | Everything you need to...
24/12/20
AirPods Max | Everything you need to know in 1...
24/12/20
PS5 | Everything you need to know in 1 minute
14/12/20
2. Converting to black and white
If you’re planning to convert a color image to black & white you’ll almost certainly get better image quality by converting the raw file in Adobe Camera Raw or Lightroom. However, if you’re working on a JPEG file in Photoshop and want to convert it to mono, the Black & White adjustment layer is a powerful option. You can go for the default conversion, one of the 12 presets, or manually adjust how individual colors are converted to greyscale using the sliders.
3. The Camera Raw filter
The Camera Raw filter gives you access to all the controls available in Adobe Camera Raw within the standard Photoshop interface. This means that if you shoot in JPEG, or have already converted a raw file and would like to make an additional adjustment, you can do so with speed and ease. The best way to use this filter is to either make a copy of the Background layer, or merge the visible layers into a new layer at the top of the stack (select the top-most layer and press Ctrl/Cmd+Alt/Option+Shift+E), then go to Filter > Convert For Smart Filters. You can now apply the Camera Raw filter, and go back and edit your adjustments later if you wish.
4. Healing Brush
The Healing Brush is a great tool for performing retouching tasks ranging from simple dust spot removal to more complex object removal. To use the tool, hold down the Alt/Option key and click close to the area you want to retouch to sample the replacement pixels for the repair, then click and drag to brush the sampled pixels into the area you want to retouch.
If you’re unhappy with an edit press Ctrl+Z to go back a step (it's a good idea to work in short brush strokes so that you can step back without having to undo a large amount of editing). The tool works by blending the sampled pixels with the original pixels, rather than copying the sampled pixels wholesale like the Clone Stamp Tool.
5. Customize the workspace
The default Photography Workspace contains everything Adobe thinks is necessary for photographers using Photoshop, but one size rarely fits all, so it’s worth customizing the panel layout to suit your way of working. Panels on the right of the Photoshop interface can be removed by dragging them out of the dock, and new ones added by going to Window menu in the main menu bar and selecting the desired panel. These can then be dragged into position and docked with other panels, and the workspace saved. You can save multiple workspaces; to save or load a workspace go to Window > Workspace and select the relevant option.
6. Dodge and burn
Advertisement
An old darkroom technique, dodging and burning remains a popular method for adjusting the brightness of specific parts of your images. To use the Dodge and Burn tools you should be working on either the Background layer or a copy of it, as the tools are 'destructive', in that they permanently alter pixels. Now you can simply brush over an area with the Dodge Tool to lighten it, or with the Burn Tool to darken it. The tools can be set to target Shadows, Midtones or Highlights, so that only pixels within the selected tonal range that fall under the brush stroke are altered. It’s best to work with a low exposure such as 5-10% and build up the desired effect gradually.
7. Create a contact sheet
In the days of film, contact sheets were an essential tool for reviewing and selecting images to print. And while image cataloguing software such as Lightroom and Capture One enables you to review images quickly and easily, it can still be useful to create contact sheets to be sent digitally to someone, or for print. To create a contact sheet put the desired images, or copies of them, in a folder. Then go to File > Automate > Contact Sheet II and configure options such as image source, paper size and layout. Once everything has been selected Photoshop will generate contact sheets to be saved manually.
8. Blending modes
Advertisement
Blending modes are a simple yet powerful tool for changing the way a layer interacts with the layer below. You can apply blending modes to any layer, including adjustment layers, to achieve a range of effects such as changing brightness, contrast and colors. A good way to see how they work is to make a copy of the Background layer by selecting it and pressing Ctrl+J. With the new layer active go to the dropdown menu at the top of the Layers panel – it's set to Normal by default – and experiment with the different blending modes.
9. Quick Mask mode for selections
Making selections is the key to compositing and making precise localized adjustments. There are a number of tools available for making selections, with those designed for making complex selections being more difficult to use. Quick Mask mode, on the other hand, makes making selections as easy as painting over an area. At a basic level, painting with a black brush creates the mask and white erases it, and using a feathered or hard brush creates a hard or soft edge for the selection. To enter Quick Mask mode press Q on the keyboard; once the mask has been created pressing Q again turns it into a selection.
10. Cropping
Cropping is a simple task that’s pretty much self-explanatory once you select the Crop Tool, but there are a number of advanced features you can take advantage of. By repeatedly pressing O on the keyboard you can cycle through the available guides including rule-of- thirds, golden ratio, golden spiral, while clicking on the cog symbol in the tool bar at the top of the interface will bring up additional display and other options. Clicking the Crop Tool icon at the far-left of the tool bar opens a menu containing presets, and you can create your own presets if you regularly crop images to particular sizes.
Join Adobe Creative Cloud and save 15% on your first year
TechRadar has teamed up with Adobe to offer a special discount on Creative Cloud All Apps membership. For the first year, you'll pay just $45.04/£42.46 per month – down from the regular price of $52.99/£49.94. You'll get access to Adobe's full suite of creative apps, including Photoshop, Lightroom and Illustrator, plus 100GB cloud storage for your projects. Offer ends August 26 2018.VIEW DEAL
- 10 Lightroom editing skills every photographer should know
- The best photo-editing software you can buy right now
MORE ABOUT CAMERAS
Sigma's exciting super-telephoto lens for mirrorless cameras gets leaked price
Best YouTube camera 2021: the top choices for leveling up your channel
LATEST
JBL launches Live 660NC Headphones and Live Pro Plus earphones in India
Advertisement
Whose Sanskrit is it anyway?Frontline|
The cost of hearing aids in Qadian might surprise youHear.com|
Scared & Alone, I Have No idea How I'll Save My Dying ChildKetto|
Belur and Halebidu: Eloquence in stoneFrontline|
MOST POPULAR
Best cameras for vlogging 2021: the 15 finest choices for video creators
By Mark Wilson, Chris Rowlands1 day ago
First Canon EOS R3 Olympics photos appear to reveal its resolution
By Mark Wilson2 days ago
By Basil Kronfli3 days ago
Sony ZV-E10 is an affordable vlogging and streaming camera for YouTubers
By Mark Wilson3 days ago
Canon patent reveals more about its Powershot Zoom lens for smartphones
By Mark Wilson4 days ago
How to buy a gimbal: 6 steps to smooth video from your camera or phone
By Leon Poultney5 days ago
Photoshop vs Lightroom: what's the difference and which is the best for you?
By Dave Stevenson6 days ago
Advertisement
Skydio drones spreads their wings to take on DJI outside the US
By Mark Wilson7 days ago
The best drone 2021: the 12 finest flying cameras for aerial photography and video
By Mark Wilson, Matt Swider8 days ago
These stunning iPhone Photography Award winners were mostly shot on older iPhones
By Mark Wilson8 days ago
Advertisement
TECH DEALS, PRIZES AND LATEST NEWS
Get the best TechRadar India deals, reviews, product advice, competitions, unmissable tech news and more!
Contact me with news and offers from other Future brands
Receive email from us on behalf of our trusted partners or sponsors
By submitting your information you agree to the Terms & Conditions and Privacy Policy and are aged 16 or over.
Advertisement
MOST POPULARMOST SHARED
Comments
Related Posts

Glowing Neon Lines Effect | Photoshop Tutorial

How to start your career as a nurse graduate|| Career options for nurses in India and abroad|
/cat-copy-b7024062d3fa4266b7dd215176241b0b.jpg)
Turn a Photo into a Photoshop Pencil Sketch

How to Use Curvature Pentool | Photoshop CC Tutorial
/photoshop-scrn-5a318d5cec2f64003737de42.jpg)
How to Use Photoshop's Dodge, Burn and Sponge Tools


