
How to take your Script to Storyboard| Storyboard Script
How to Take Your Script to Storyboard
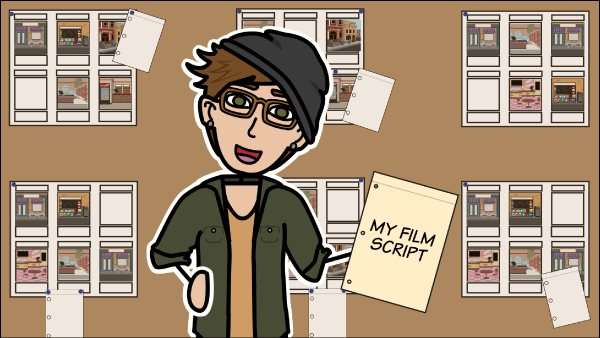
Taking your Script to Storyboard
Creating a live-action or animated film is a long and complex process, but - if all goes well - has a rewarding outcome. Using Storyboard That to plan your next film gives you an easy way to keep your project organized every step of the way!
Storyboarding has great potential for the filmmaking process. You can make plot drafts and character maps for planning, and use the traditional shot-by-shot storyboarding method for the actual filming.
Scripting That Idea
The first step towards making your film is to record your ideas with some pre-writing and planning. Think back to English class and pull inspiration and strong plots from topics like the hero's journey and plot structure. It can take multiple drafts to get the pacing, settings, characters, and plot just right.
Don’t be afraid to revise your work and then revise your revisions. This will lead to continually improved work.
Movie Maker Matt's Scripting
What does a storyboard look like? We have some great templates to help you get started on your film. Make use of our character map template and plot diagram planner to flesh out basic ideas. Who are your characters? What do they care about? What kinds of decisions do your characters make? What is the main conflict in the story? What are the plot twists?
Storyboarding That Idea
The Benefits of Storyboarding Your Script
The next step is to take your written word and transfer it to a visual medium. The best practice for films (animations and commercials too!) is to use the script to develop a storyboard. Using imagery with the text can create a deeper and more immediate understanding of the desired result. This is also extremely helpful if you are working in a group and have others relying on your direction.
Since some people are visual learners, the storyboarding processes can better communicate your vision to those who respond best to pictorial instruction.
The Storyboarding Process
Now that you have decided to transform your writing into a storyboard script, it is time to begin the process.
Step 1: Begin Storyboarding
Take a look at your script and break it down scene by scene or shot by shot. Typically, people choose to make groups of 4-6 cells, to ensure large enough cells and nice placement on standard paper (8 ½ by 11 inches) when printed. Begin the storyboarding process by labeling your scenes, writing the directions, adding character dialogue, and placing imagery. Here is a breakdown of the parts of each cell.
Step 2: Lay Out Storyboards
Once you have gotten your script into a storyboard, the story should really start to come alive! Lay out the storyboard in order and check for accuracy, continuity, and so on.
Step 3: Revise Storyboards
Perhaps you are a miracle worker and can start shooting right away, but most people need to make revisions. Carefully look through the storyboards: add in camera motions, effects, background characters, music and lighting cues, and anything else that will help you, your investors, and your crew see your plan.
Comments
Related Posts

10 Graphic Design Skills To Become A Successful Designer | Shaw Academy
/2000px-Rotogravure_PrintUnit-5a64d8bb482c520037ee26e7.png)
Gravure Printing and How It Works

Six skills that every graphic designer requires to build a career

How to Storyboard: Step-by-Step Storyboarding Guide (2021 Edition) | Boords

How to earn money online in 2021? Top 10 Passive Income tips for students | Ankur Warikoo Hindi


